EXTERIOR
Return to Main Page
Click on any Picture for Enlargement
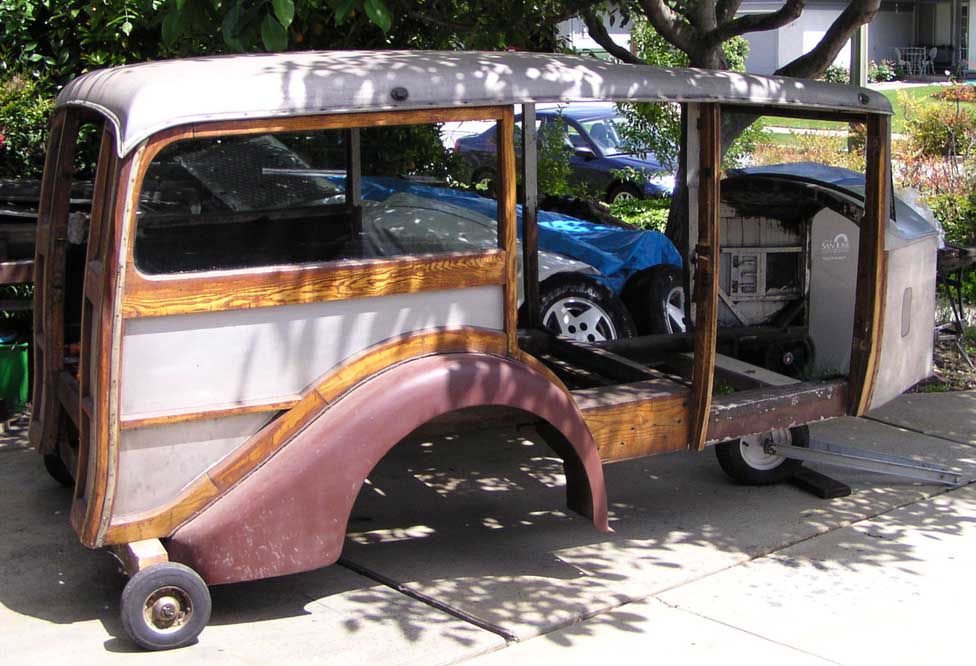
Three temporary wheels
were used to roll the
coachwork away from
the chassis once they
were separated. A
separate garage was
built to hold the coach
and boxes of parts as
they were removed
from the chassis.
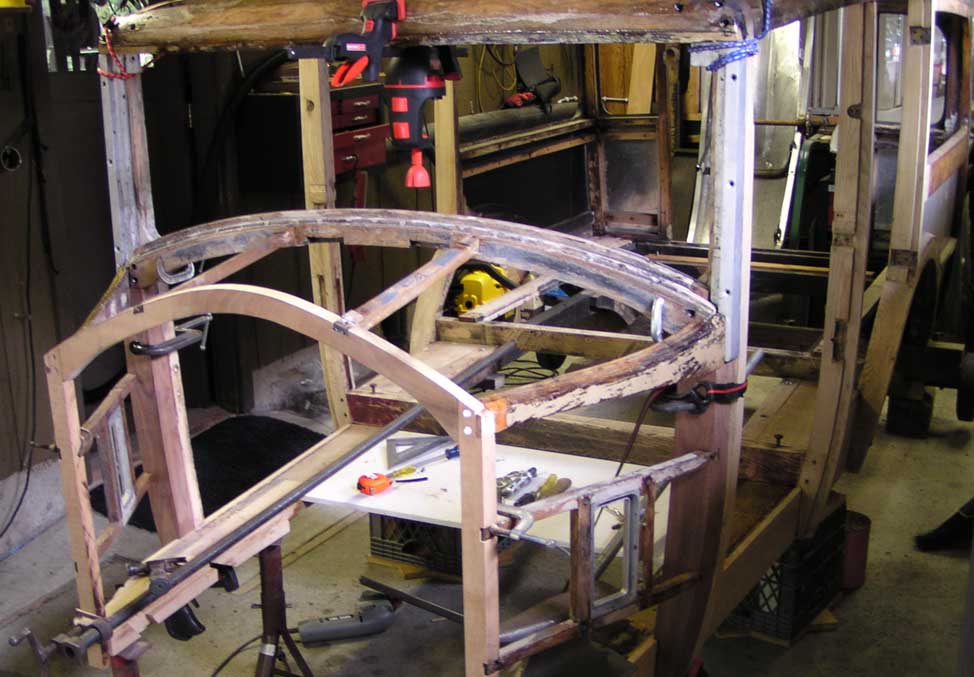
Repair of the wood
structure on the front
cowl beneath the
windscreen.
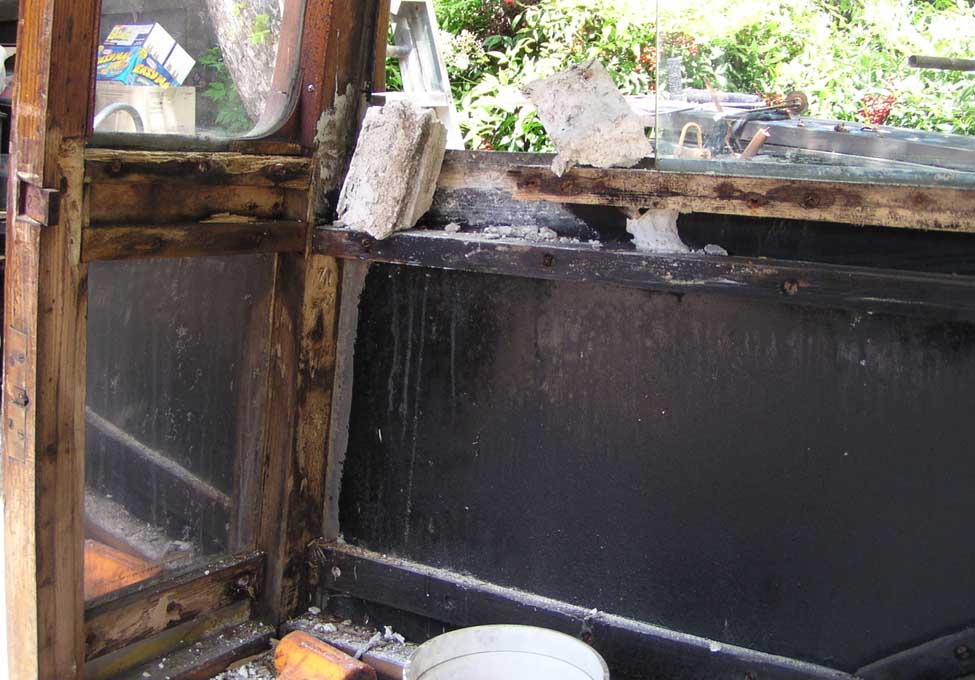
The nearside rear glass
slid to open and never
sealed right. The wood
damage was only in the
interior frame wood.
The exterior oak wood
was not damaged. A
previous owner had
simply poured plaster
of Paris into holes and
then the glass would
not slide.
It still leaked.
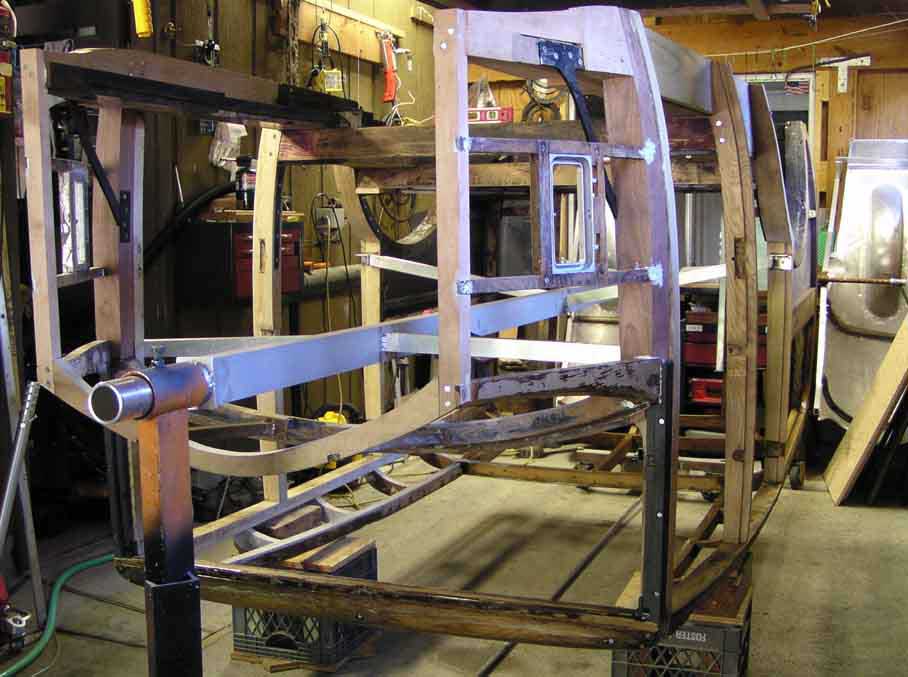
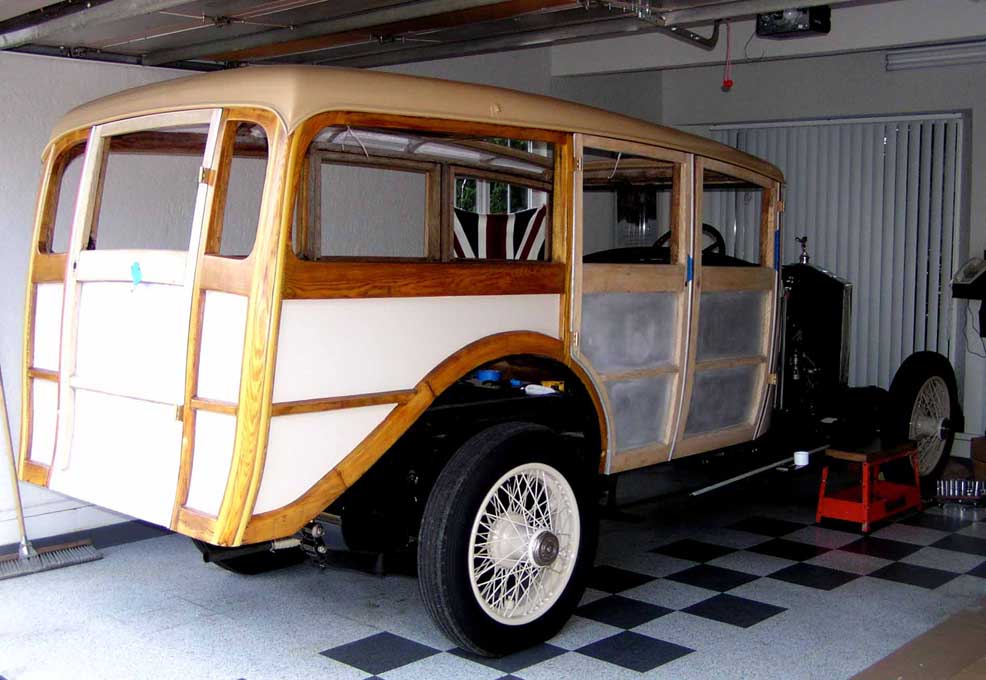
The complete frame of
the coachwork on a
custom rotary stand
that rotates around any
position of a circle. This
allows working on the
bottom or in any angle
useful for best access.
This stand was used
for every step until the
final paint when it was
ready to be installed on
the chassis. (see the
following pages)
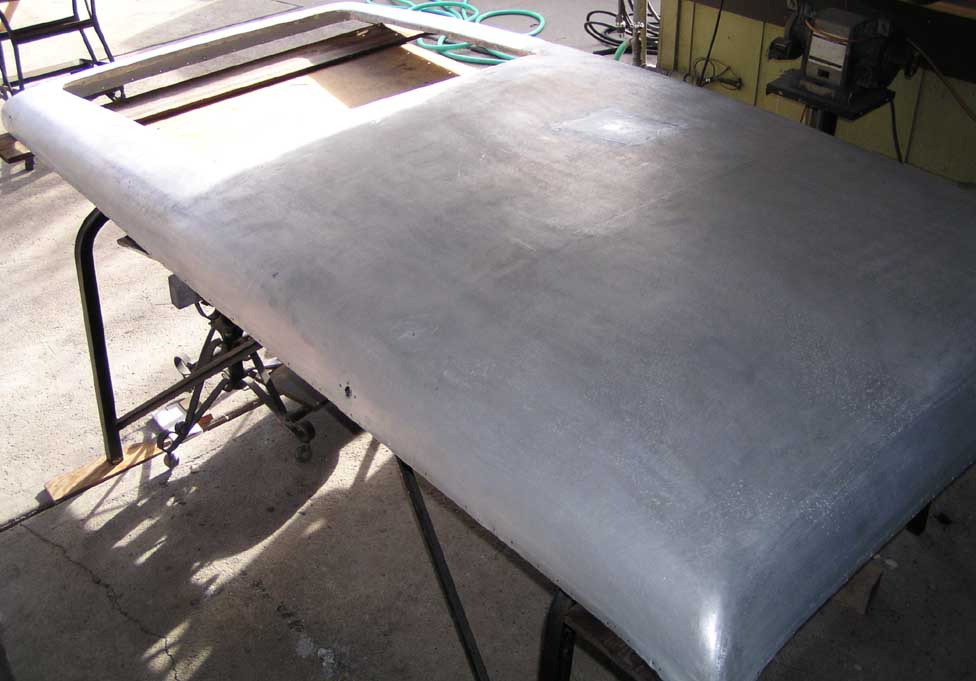
The complete alloy
top being worked on
while separated from
the coach.
The sunroof
rails were repaired and
mounted back in the
wood frame.
Then the
top was put back on
and finished for final
paint.
Close up of a corner of
the rain drip lip (rear).
This channel surrounds
the whole top where
the aluminum meets
the wood.
The sunroof rails serve
to channel water out
thru pipes to fittings
above the rain lip. Each
of the four pipes has a
cover.
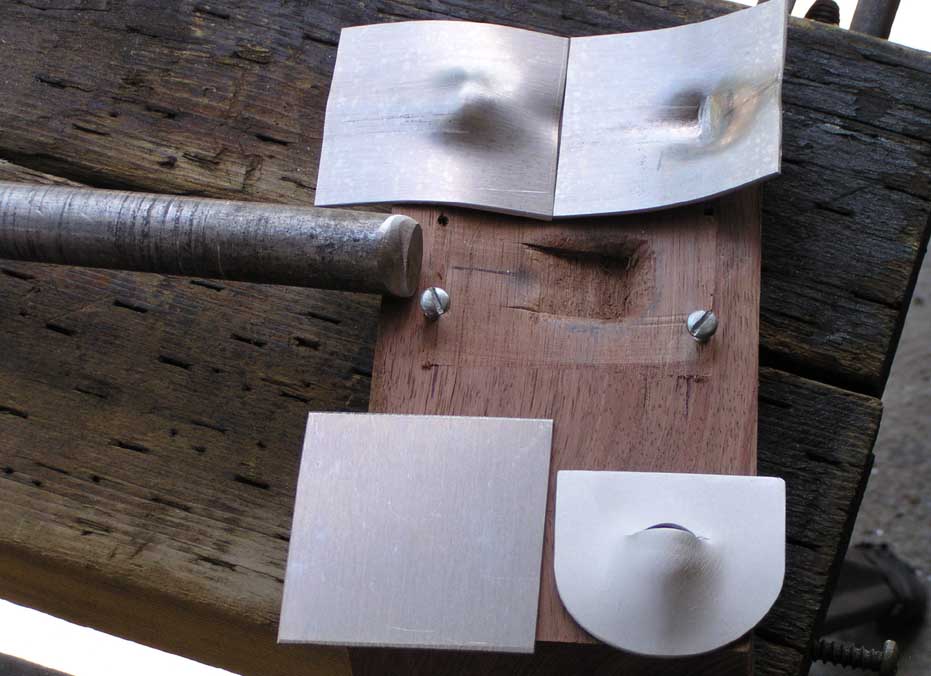
The old covers
were beyond repair. I
made new ones using
this wood jig as a form.
The squares of alloy
were pressed into the
form as a cut became
the round hole for the
end of each pipe.
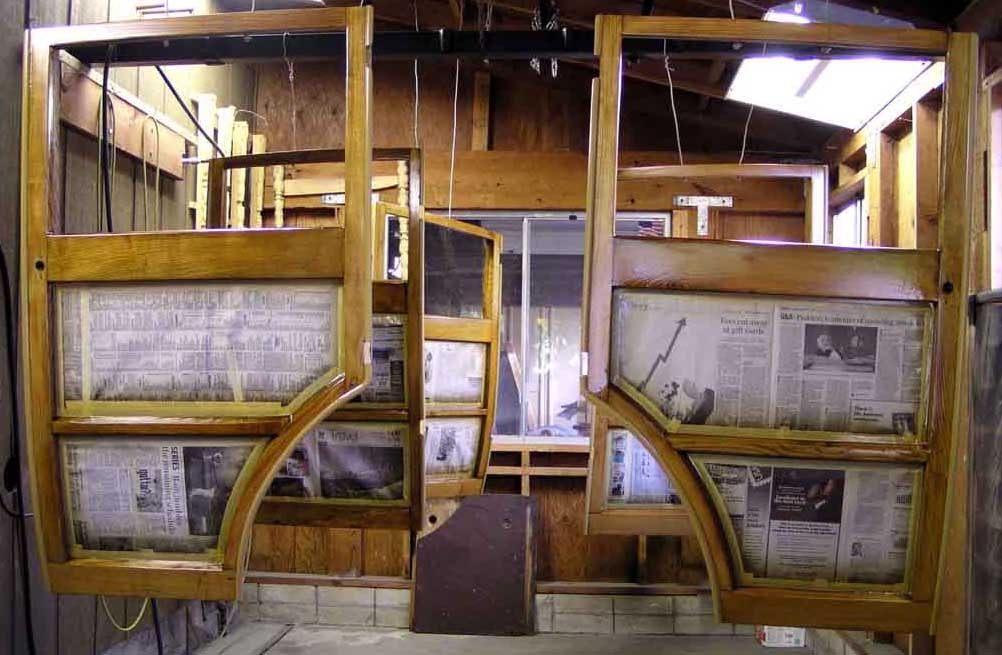
Doors hanging in the
paint room being
varnished.
Several
coats of marine spar
varnish was applied.
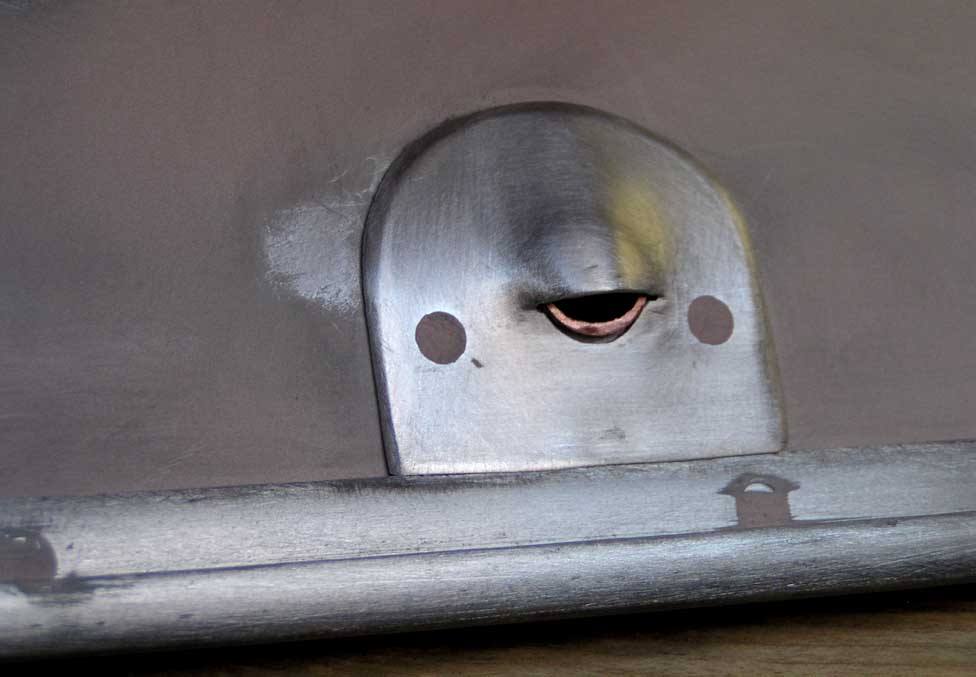
The installed pipe cover
almost ready to paint.
The fellow who sold me
the car thought these
were places to rig an
awning off either side
of the car.
That would
have been nice for
camping, but not true.
After the varnish dried,
the doors were masked
for the panel paint.
Here one door has been
"unmasked" and the
other is as it looked for
the painting.
This alloy door panel
was damaged and the
resulting bulge was too
big.
It caused the roll
up window to drag. A
new sheet was made
in it's place.
Here the
doors are being made
ready to strip and
sand for varnish.
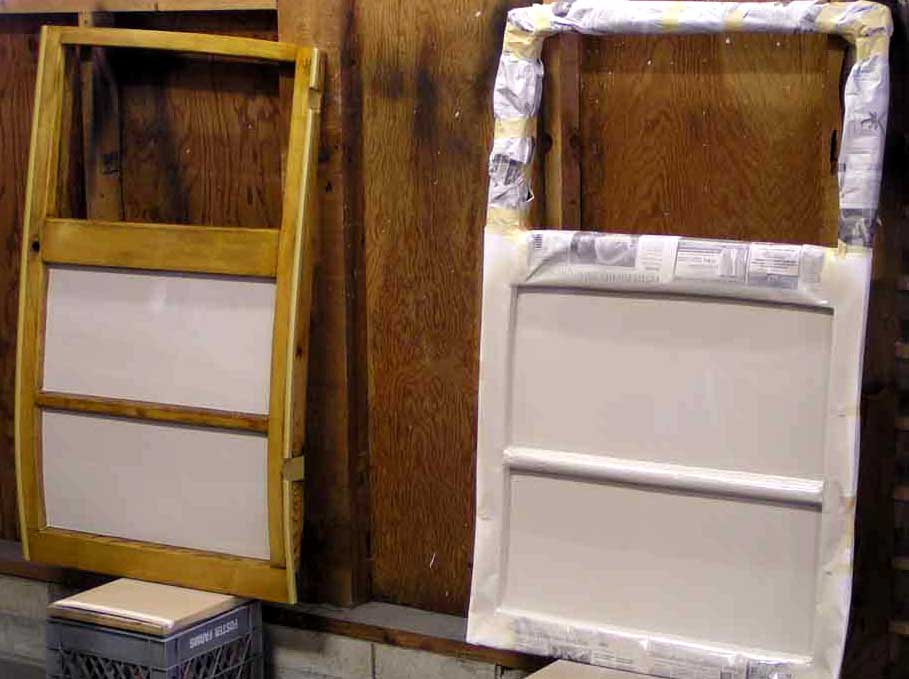
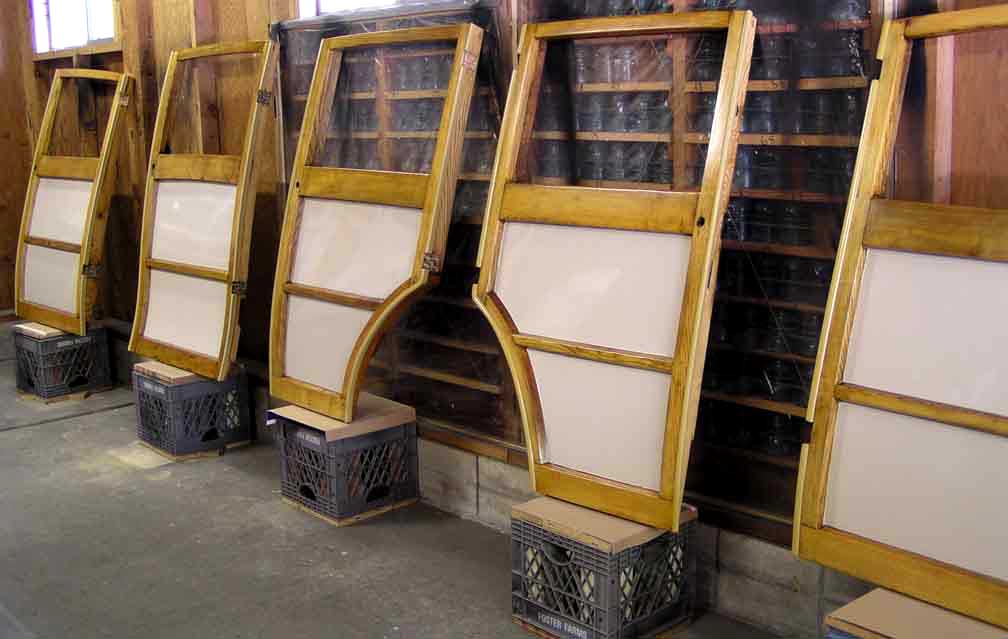
All five doors finished.
These doors had been
pre mounted for fit (see
below for
pictures of that process).
Prior to mounting, the
doors were also pre fit
for the glass and tracks
the glass slide in.
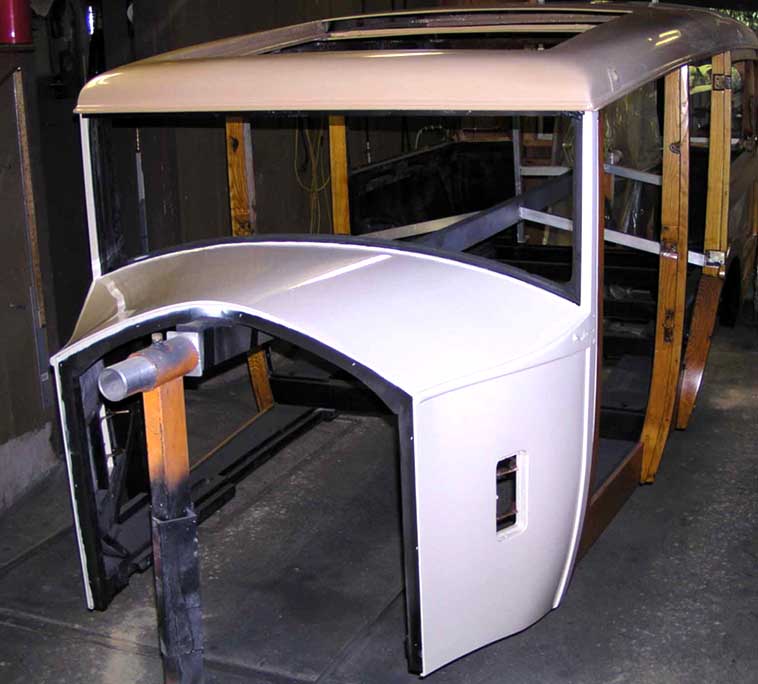
From the front on the
rotary stand.
All braces from the
center aluminum
support to the coach
were done to places
on the wood at door
hinge points. That way
the finish was done
completely without
touchup required when
the supports were
removed.
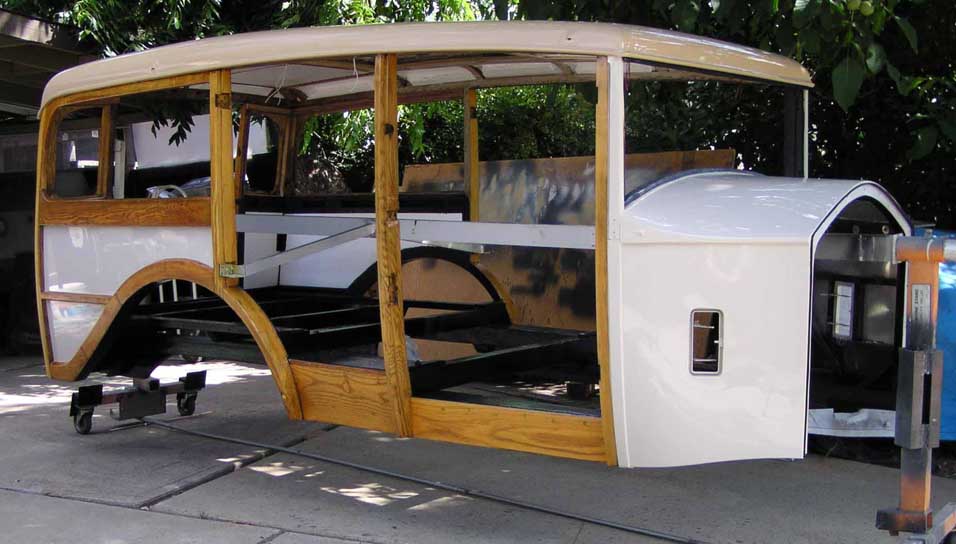
Ready to re-mount on
the chassis.
The coach
was lifted from thru the
sunroof and from the
rear.
The coach had to go
very high to clear the
steering wheel which
would have been real
trouble to remove. Care
had to be taken not to
scrape the steering
wheel in the many
moves necessary to
mate the frame rails
and the firewall (dash-
board in the UK)
From the rear on the
rotary stand.
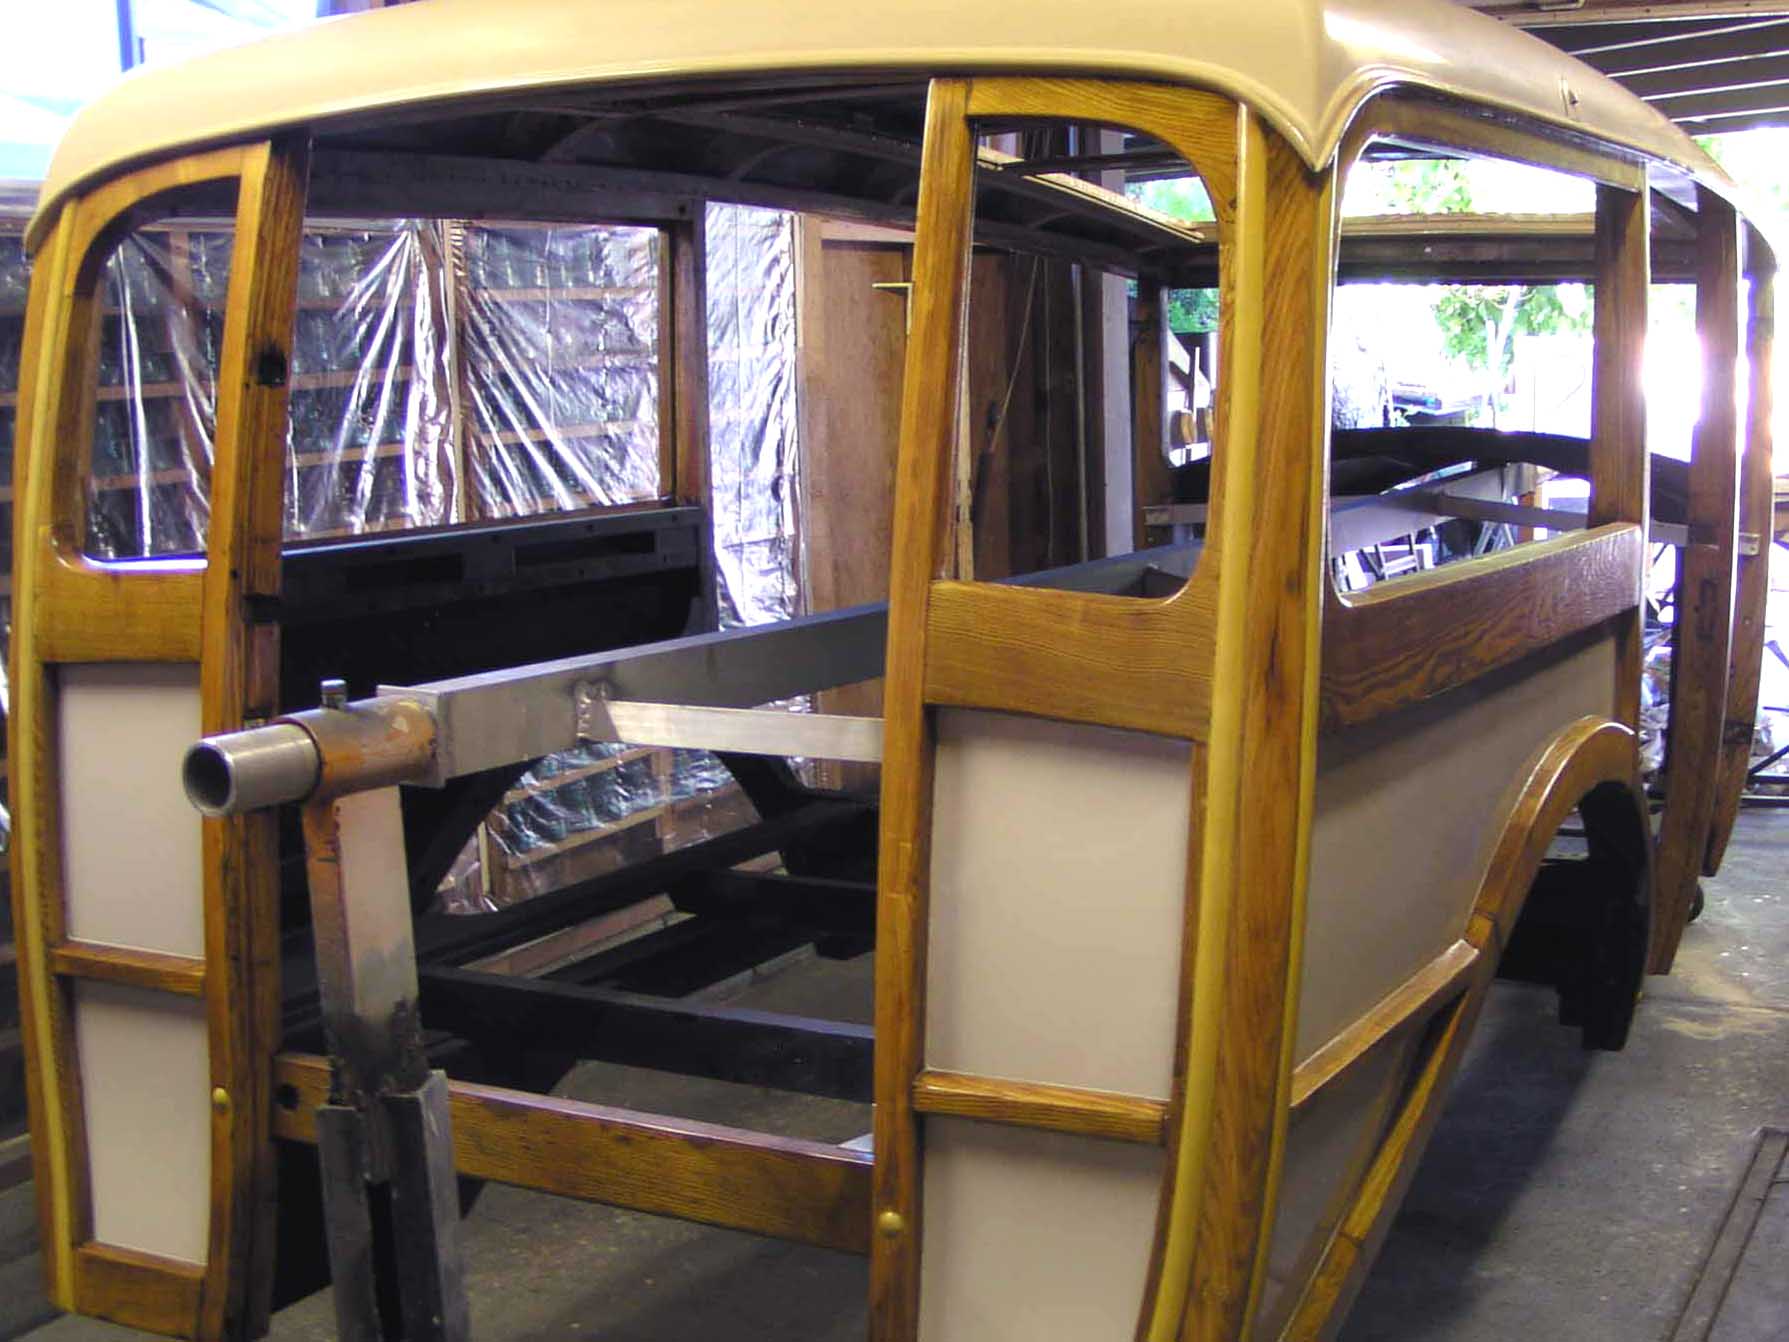
Back together!
The doors are being
pre-fit prior to any
finish work on them.
No finish work was
done on any parts
on the car from this
point on. Everything
was finished elsewhere
and brought to the car
to be installed.
Return to Main Page
 Return
to Main Page
Return
to Main Page