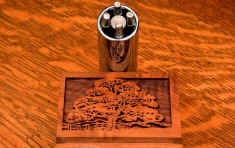
 |
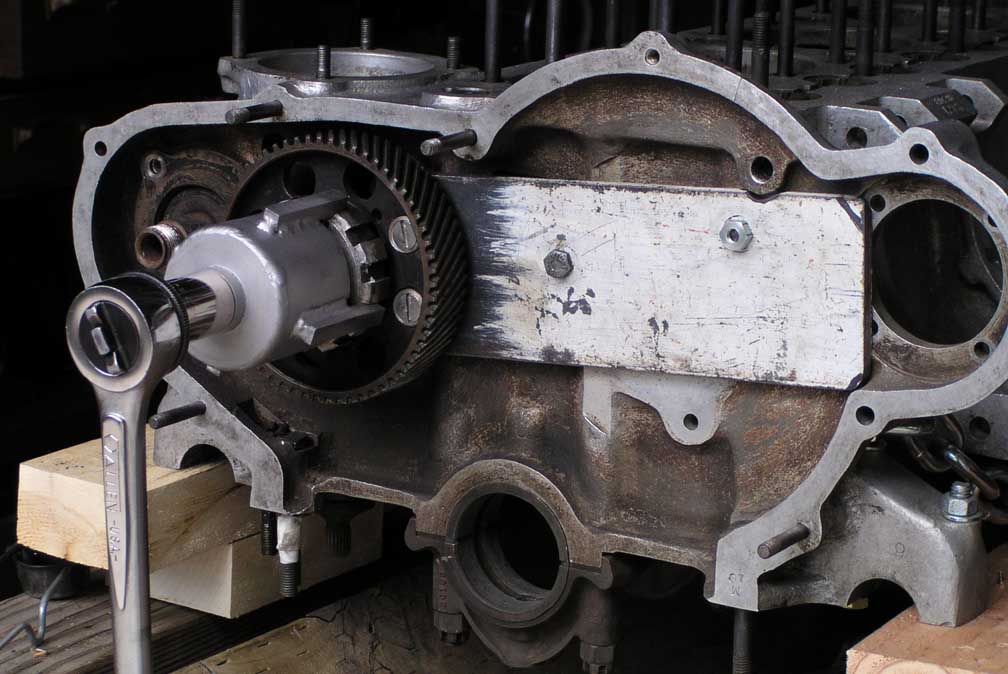
| This
tool engages the |
| flywheel
when the |
| starter
is removed and |
| locks
the engine from |
| spinning.
This allows |
| removal
of the damper |
| nut
in front. |
|
 |
|
Copper tubes are used |
| thru
the head and block |
| to
pass oil down thru |
| water
passages. They |
| must
be swaged |
| (flared)
at each end. |
|
Here you can see an old |
| tube,
a new one, and |
| the
tools used. The flair |
| tool
with the "T" handle |
| and
slide hammer is |
| what
I made for the job. |
| The
slide hammer helps |
| tap
out the tapper if it |
| gets
stuck. |
|
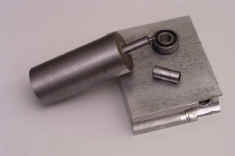 |
| Shown
are the camshaft |
| roller
and pin with the |
| two
tools used to fit |
| new
ones into the |
| valve
follower. Note the |
| pin
wear. |
|
 |
| A
socket was adapted |
| with
rods to fit the 4 |
| pin
plugs holes for |
| removal.
See the plugs |
| in
the above picture. |
|
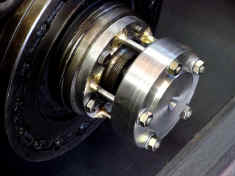 |
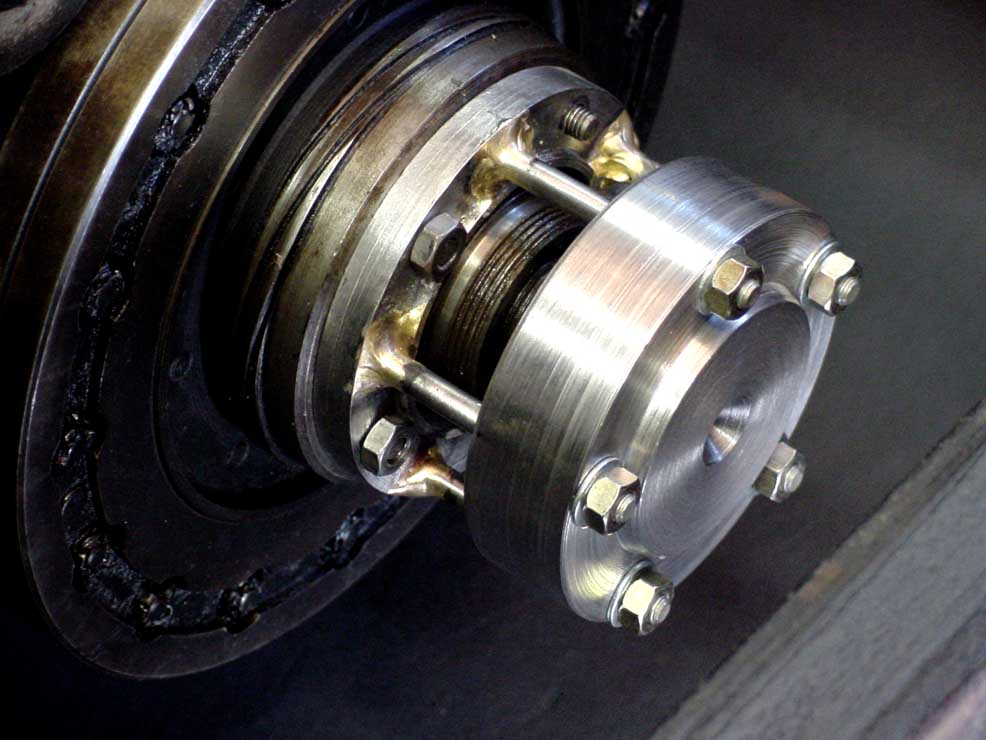
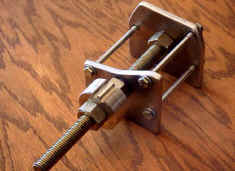
| A
very specific hub |
| puller
made just for the |
| removal
of the vibration |
| damper
on the front of |
| the
crankshaft. |
|
 |
| Two
tools were made to |
| remove
this gear. One |
| to
hold it from turning, |
| and
the 4 prong socket |
| to
remove the castellated |
| ring
nut. |
|
 |
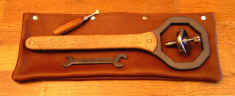
|
This tool was made for |
| adjusting
the wheel |
| spoke
nuts. |
|
You spin the wheel on |
| a
hub with bearings |
| to
true the wheels. |
|
 |
|
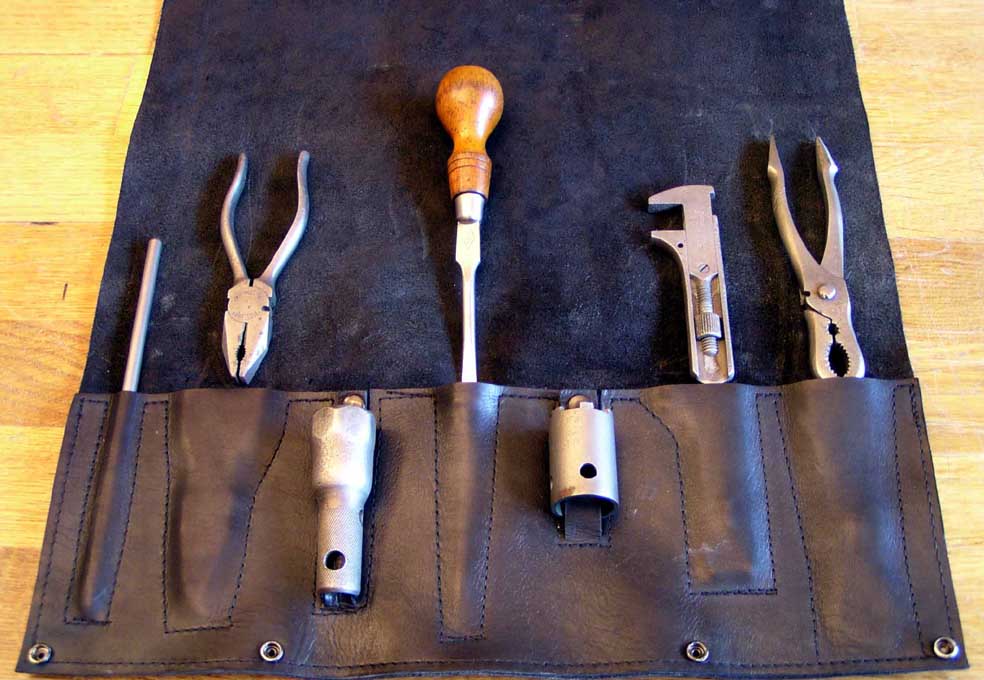
This tool kit is for use |
| in
removing the wheel |
| hub
nuts. These are |
| kind
to the plating of |
| these
parts. |
|
The tool that came with |
| these
cars is shown at |
| top
left in the picture |
| below.
Use of this type |
| hub
remover almost |
| always
causes damage. |
|
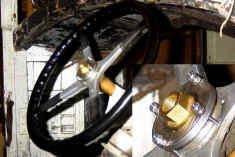 |
| A
steering wheel puller |
| made
just for this |
| steering
wheel type. |
|
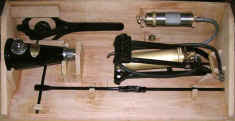 |
| The
major tools stowed |
| in
the rear compartment |
| for:
Hub removal |
|
Jacking the car up |
|
Air tyre pump |
|
Chassis lubrication |
|
 |
|
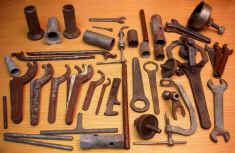
A batch of tools I bought |
| for
the car. They are shown prior to restoration. |
| The
list of tools for this car may be found in the |
| parts
books published for |
|
the 20 HP. |
|
Many other tools have been found thru other |
| sources. |
|
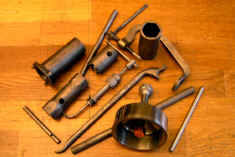 |
| Some
of the tools in the |
| parts
book for a 20 HP. |
| These
are not for use on |
| the
road, so they are |
| not
kept in the car. |
|
 |
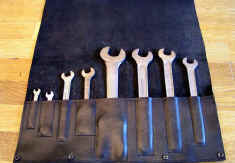
| These
are a few of the tools |
| listed
in the parts book |
| that
are carried in the |
| car
for show and use if |
| necessary. |
|
| Each
has a part number |
|
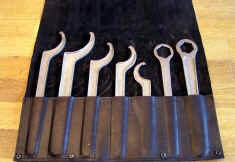 |
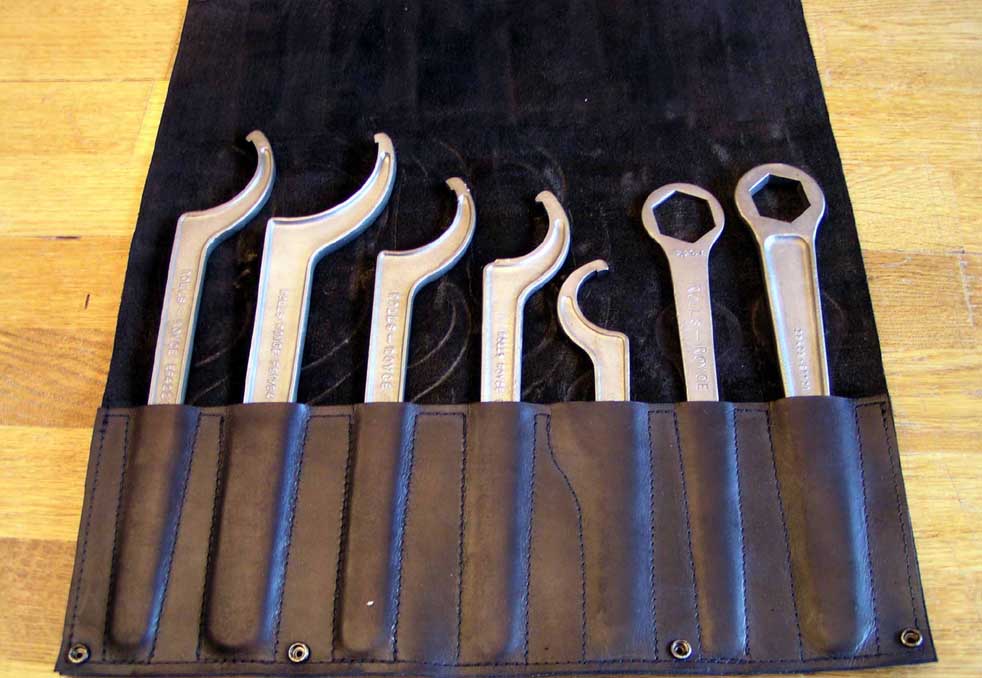
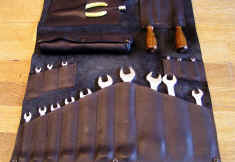
| "C"
spanners and two |
| nut
spanners that are |
| specific
by parts number |
| for
this model 20 HP. |
|
 |
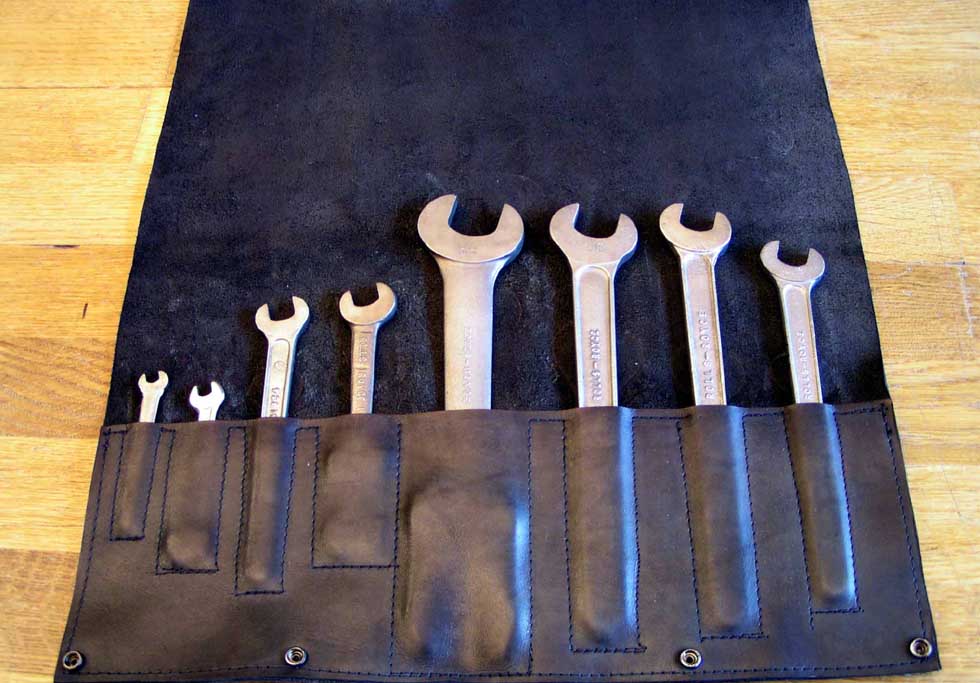
| Spanners
listed in the |
| parts
book. |
|
| Each
has a part number |
|
 |
| These
are British |
| Standard
or Whitworth |
| tools
and make up a |
| "commonly
needed" |
| set
to carry in the car. |
|
| These
are not RR tools, |
| but
are maintenance tools. |
|
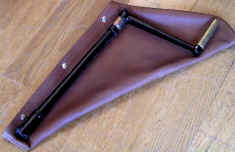 |
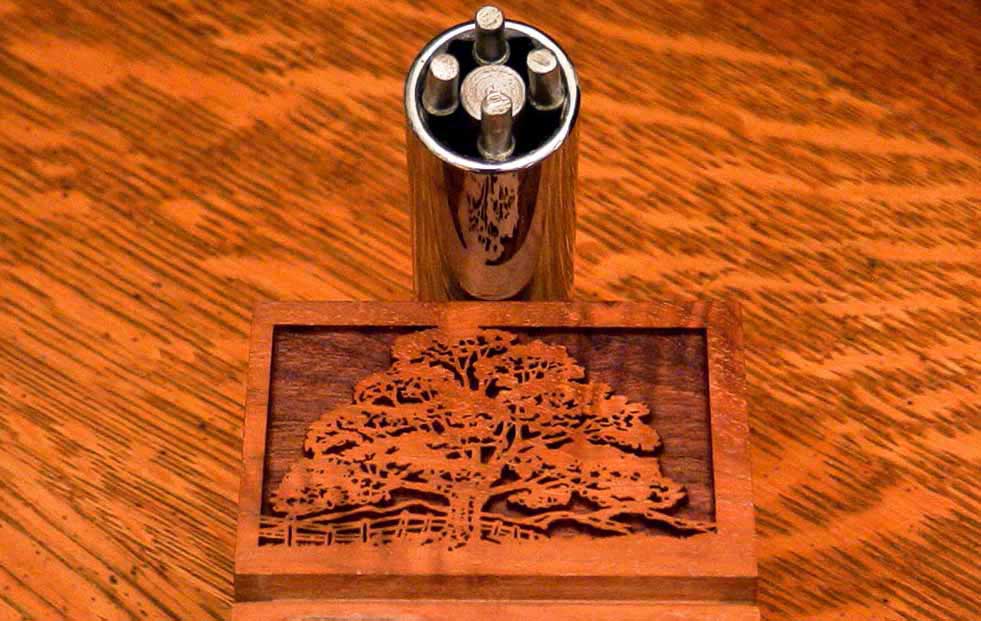
The hand crank
tool. If the battery won't crank the car, chances are it will
still provide current sufficient for the coil. One simply hand
cranks the car in that case. |
|
|
 Return
to Main Page
Return
to Main Page