 |
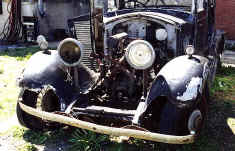
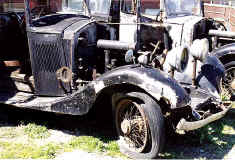
| These
pictures are off |
| another
donor car that |
| was
sold from Iva, S.C |
| before
I went there. |
| Nockey
Willet bought |
| this
car and took it to |
| Texas.
He offered me |
| the
wings. |
|
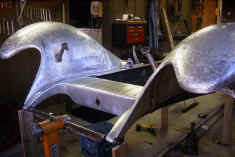 |
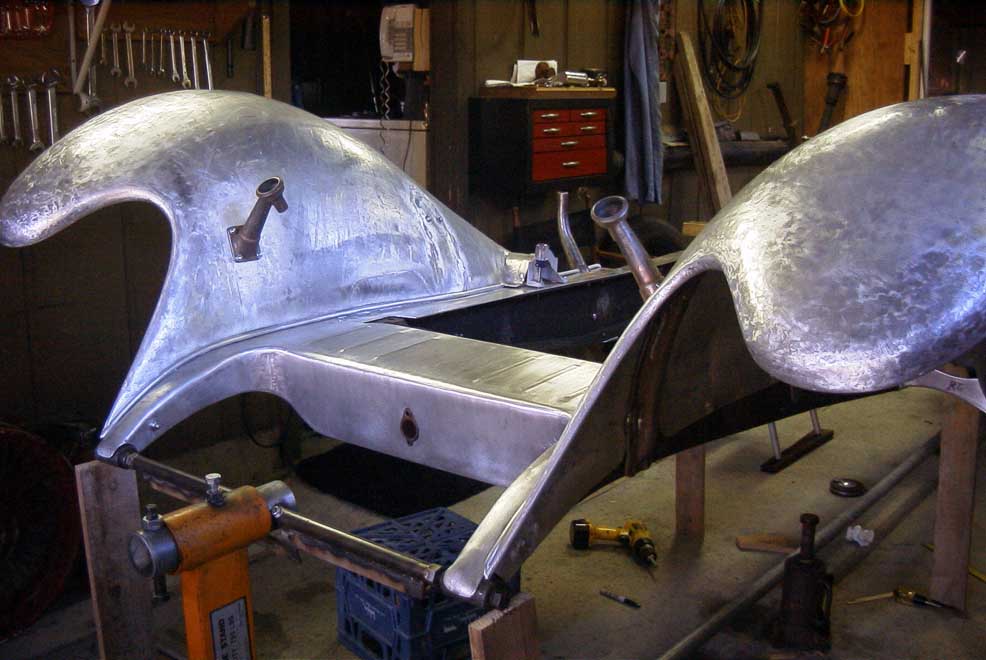
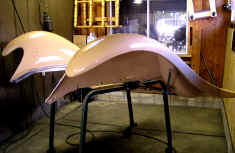
| The
front wings after |
| being
re-shaped and |
| repaired. |
|
| Also
shown is the front |
| valance
between the |
| wings
that has the |
| starting
handle port. |
|
 |
|
I drove there and took |
| the
wings and supports |
| which
were very |
| important
since Gen |
| came
to me without |
| proper
supports or wings. |
|
While in Texas, I helped |
| Nockey
repair and |
| assemble
and test the |
| AutoVac
for his car. |
|
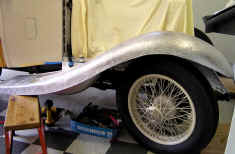 |
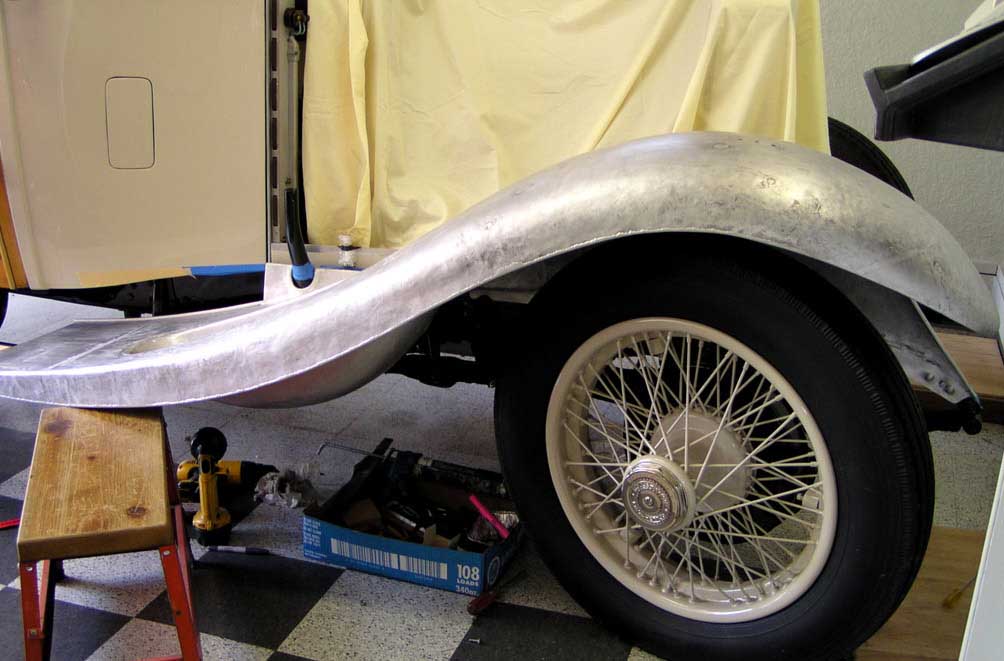
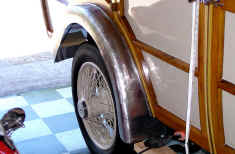
| Off
side front wing |
| being
test fit prior to |
| final
finish. The wings |
| have
to fit many points, |
| hold
the side mount |
| spare
tyre, and attach |
| to
the running boards. |
|
 |
| The
front wings while |
| the
final finish cured. |
| As
with all of the major |
| parts,
the wings had a |
| custom
rotary stand to |
| hold
them correctly |
| while
work was done. |
|
 |
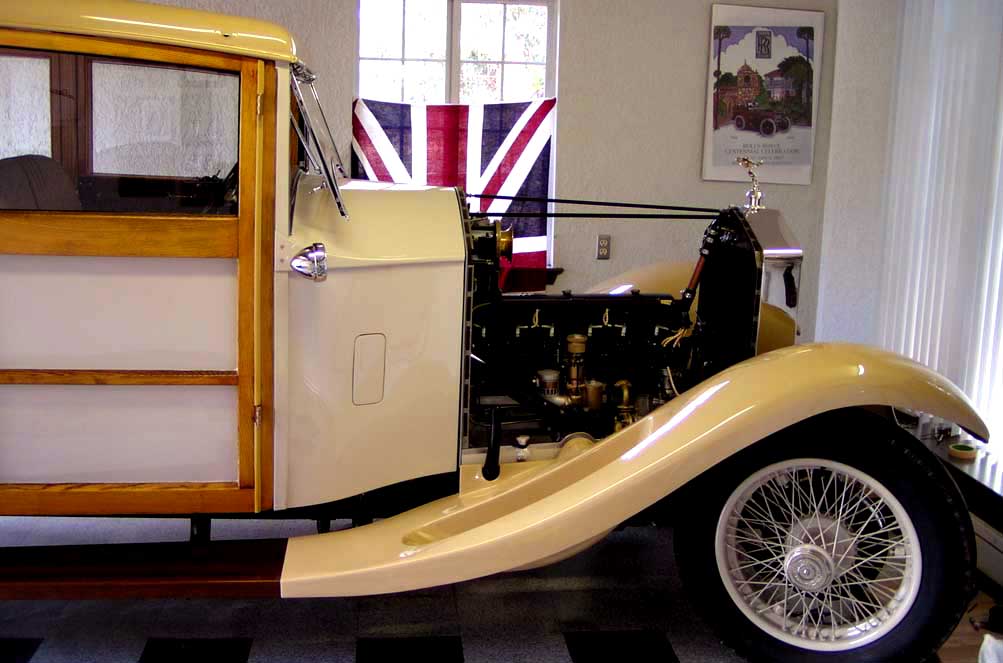
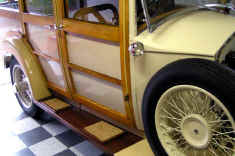
| The
offside wing on the |
| car
and attached to the |
| running
board. |
|
 |
| Sections
of sheet |
| aluminum
were cut |
| and
fashioned with an |
| English
wheel and |
| welded
up with a TIG |
| welder.
Here a jig is |
| used
to hold everything |
| while
the beading was |
| welded
on the wing. |
|
 |
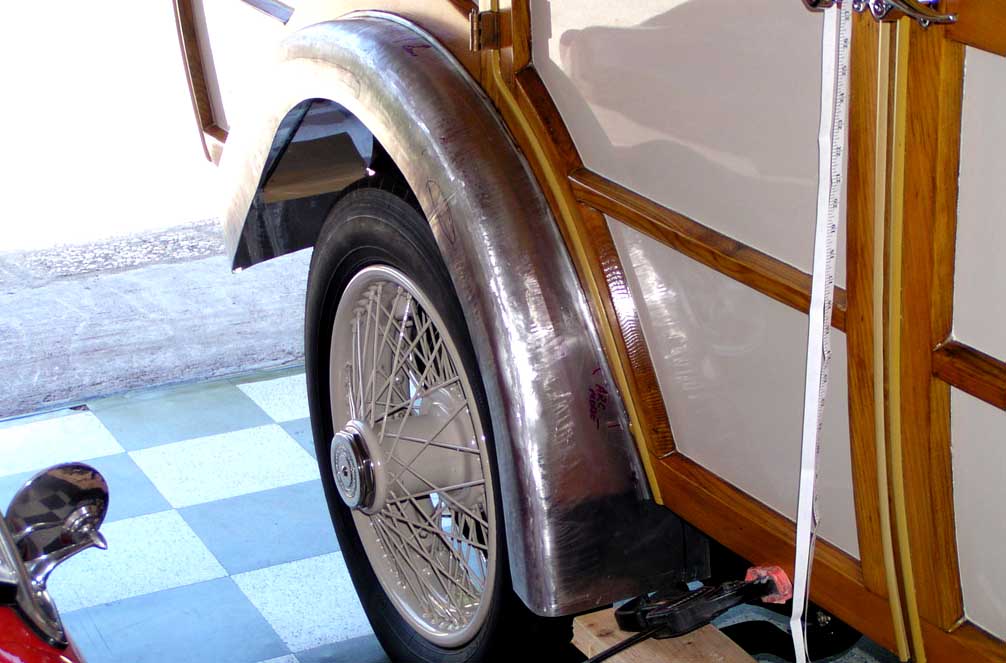
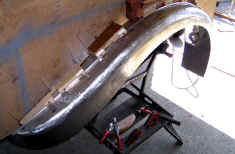
| The
newly fashioned |
| offside
rear wing being |
| test
fit to the coach. |
|
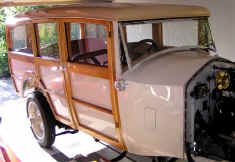 |
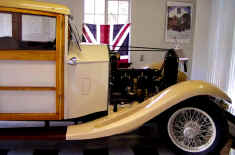
| The
coach showing |
| the
shape of the rear |
| wheel
arch where the |
| wing
was to fit. Many |
| curves
were drawn to |
| achieve
the correct |
| curve
to body and |
| curve
to wheel. |
|
 |
| The
rear wing finished |
| and
installed. A piece |
| of
douglas fur was made |
| to
test the fit and shape |
| of
running boards. |
|
 |
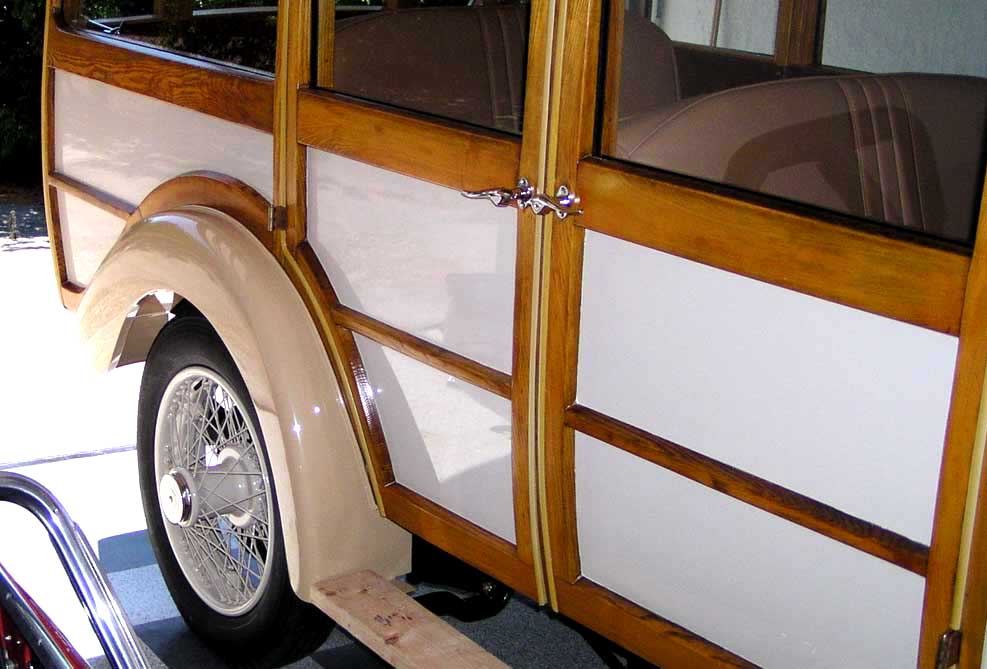
| Showing
the wings fit |
| to
the running boards. |
|
 |
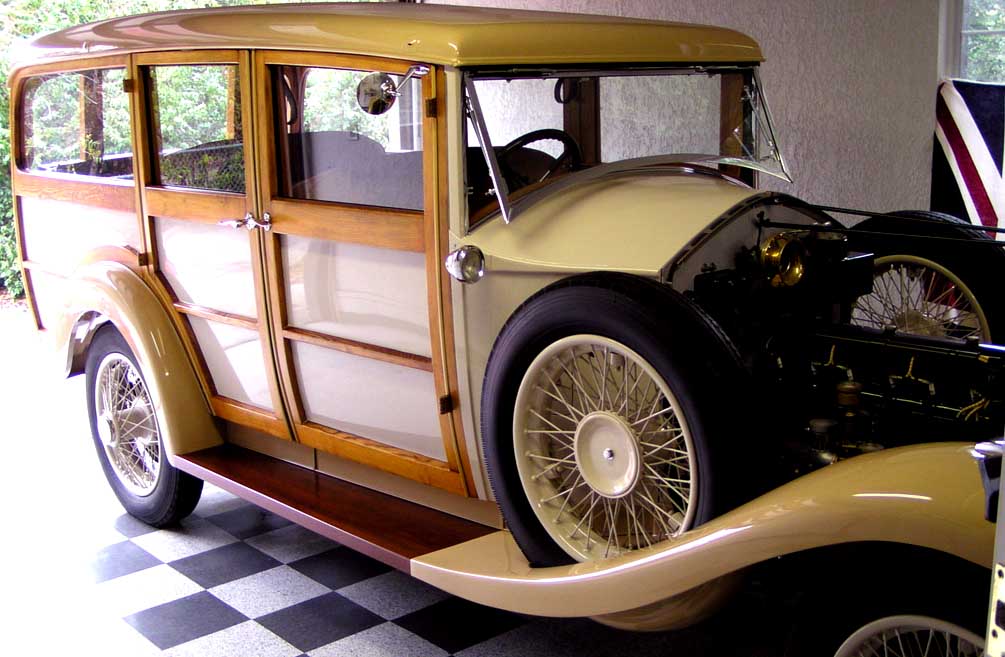
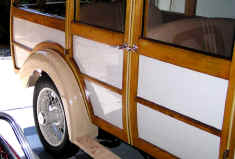
| Completed
wings, |
| running boards,
side |
| mount
spare and |
| panels
to the coach. |
|
| History
pictures show |
| the
step mats installed |
| on
the running boards. |
| (see
also below) |
|
 |
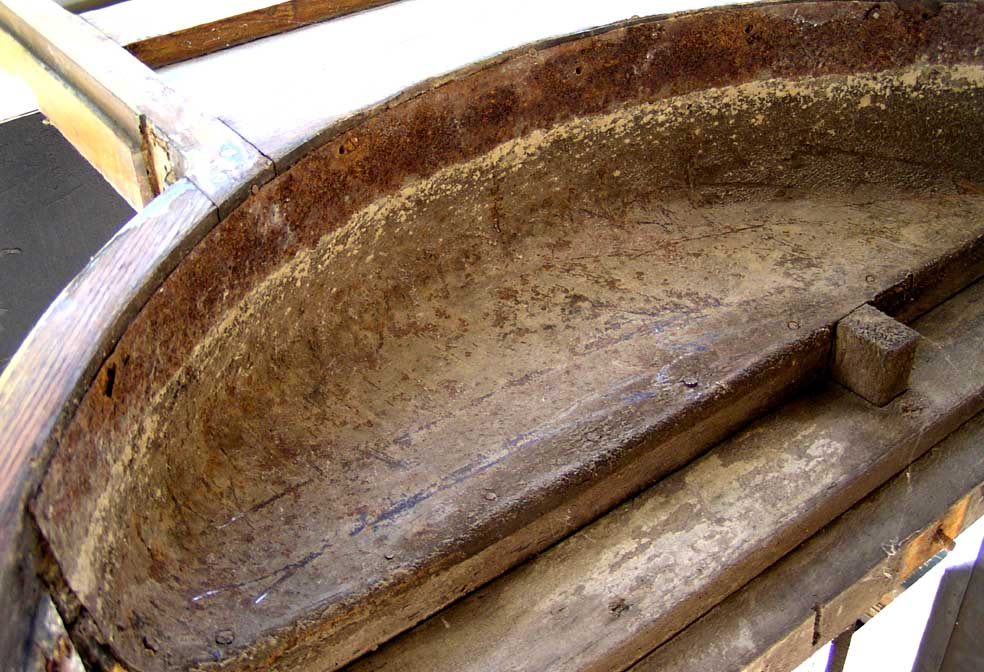
| The
old inner rear wings |
| show
as found rusting |
| and
dirty. I decided to |
| chuck
these and make |
| new
ones out of |
| aluminum. |
|
 |
| The
new inner wing |
| made
of aluminum and |
| painted
in sections to |
| match
the mate to |
| coach
frame or wheel |
| well.
The inner and |
| outer
wings mate to |
| form
the wheel wells. |
| Protective
shields are |
| also
used to avoid rock |
| damage
to either. |
|
 |
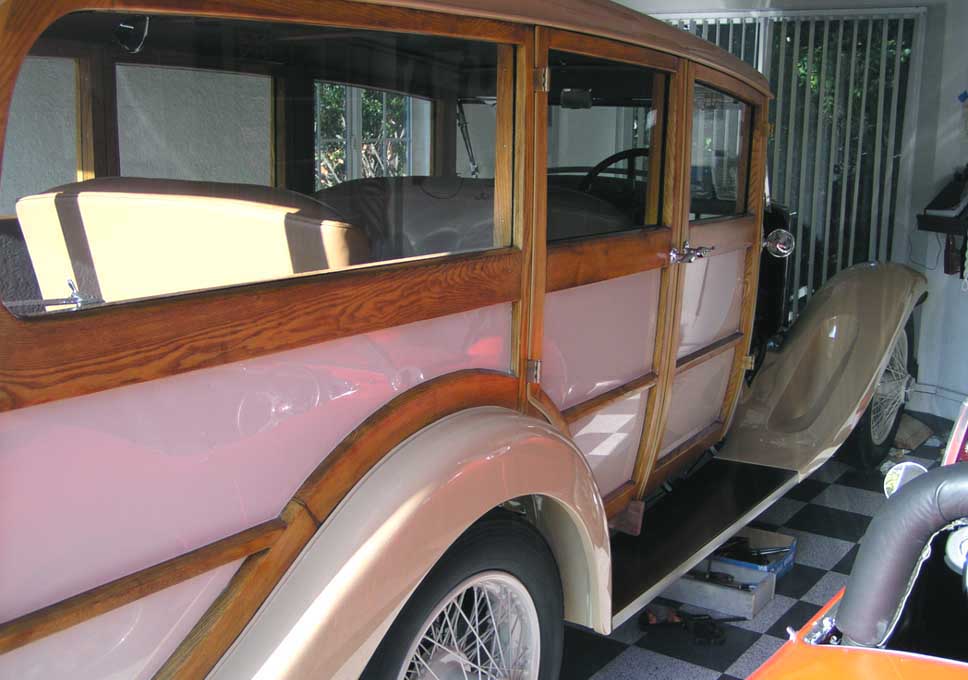
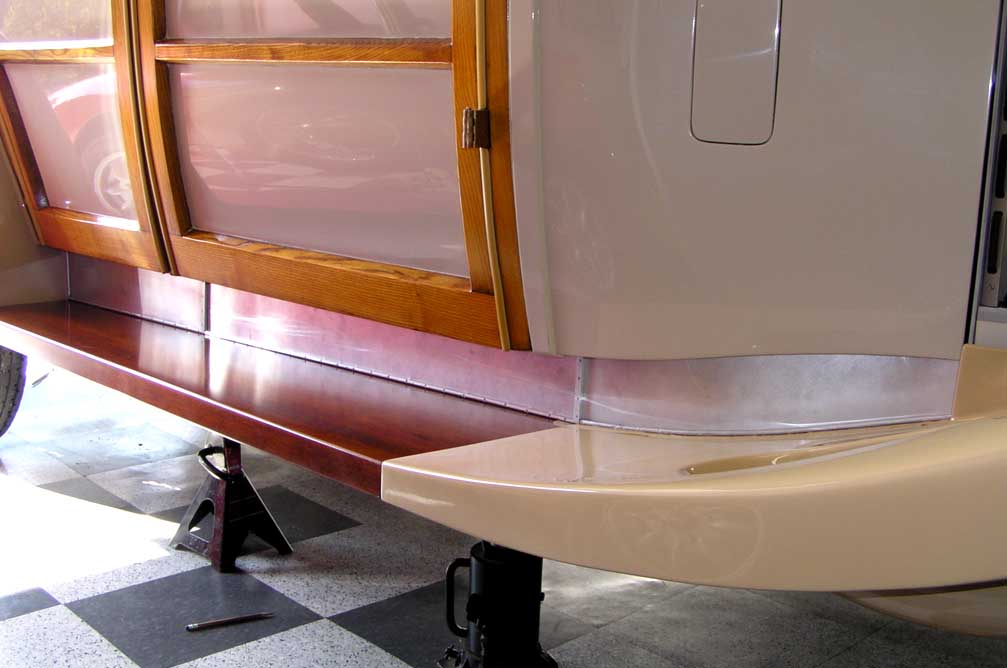
| After
the wings were |
| fit
to the running boards |
| and
all were properly |
| attached,
it was time to |
| start
making the panels |
| that
span the gap to the |
| body
below the doors. |
| Again,
these were made |
| of
sheet alumimium and |
| have
beading on the edge. |
|
 |
| Running boards
with the |
| step
mats installed. |
|
 |
|
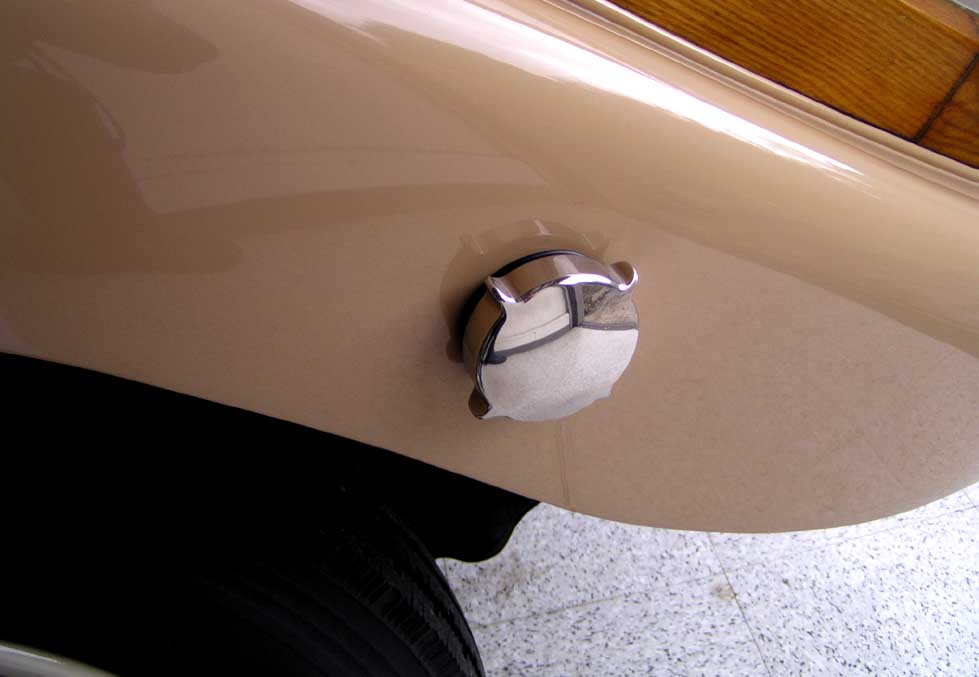
A shot of the petrol |
| filler
cap. It was a bit |
| un-nerving
to use a |
| hole
saw to cut a hole |
| in
perfect finish for this fitting. |
|
This is a nickel plated |
| cap
made for a 20 HP |
| and
sold in the UK. |
|
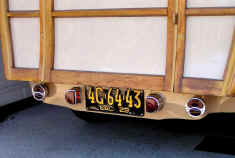 |
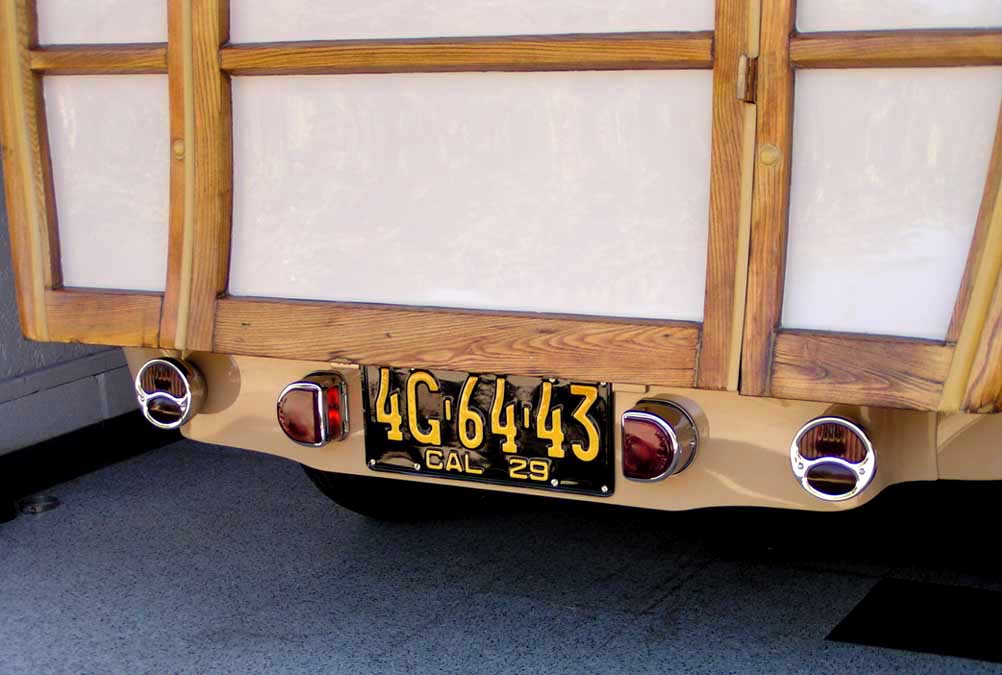
| The
rear light panel |
| serves
to hold the lights |
| and
license plate. I got |
| the
1929 plates in trade |
| from
a CT. dealer and |
| restored
them as well. |
|
 |
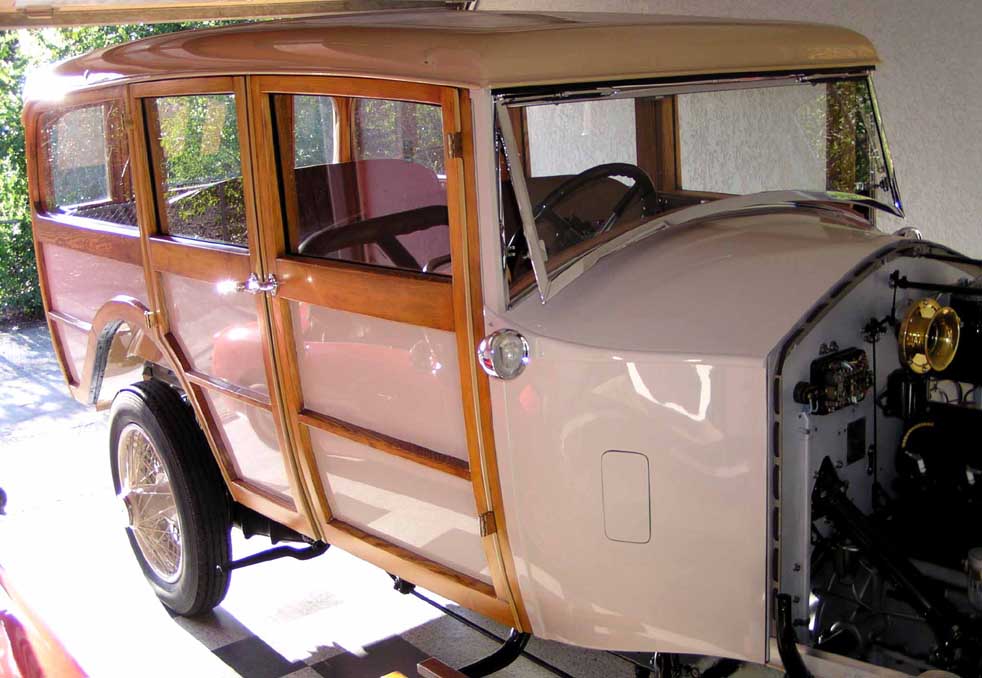
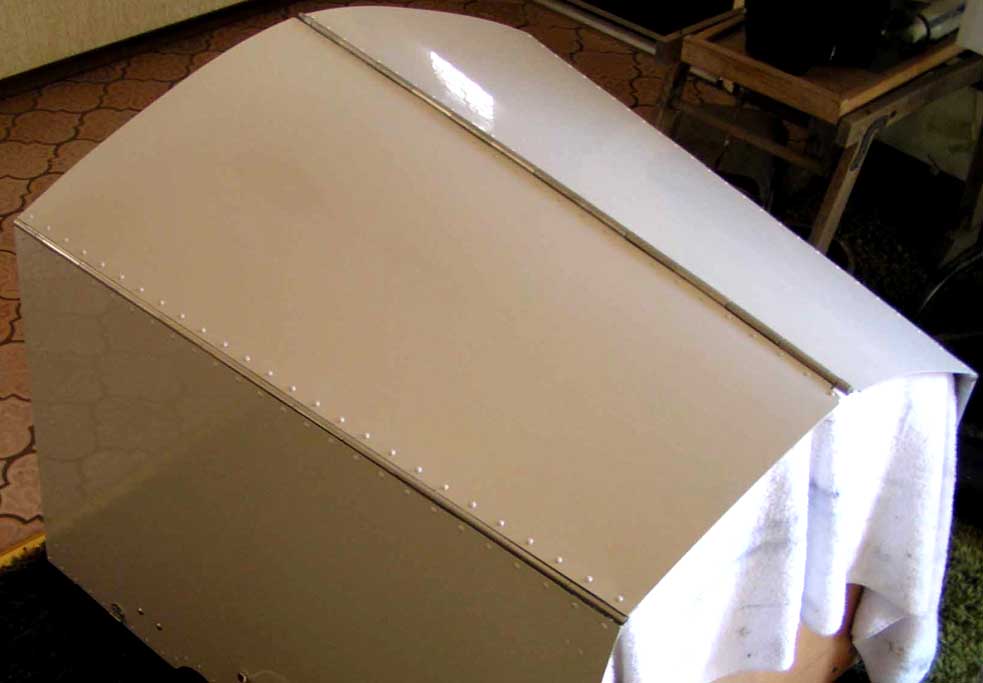
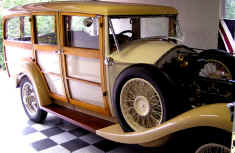
| The
bonnet with final |
| finish
ready to be put |
| on
the car. A friend |
| helped
me lift it on and |
| then
stood back and |
| said
"that really |
| finishes
off the car, |
| look
how long it looks |
| now!" |
|
|
|
 Return
to Main Page
Return
to Main Page